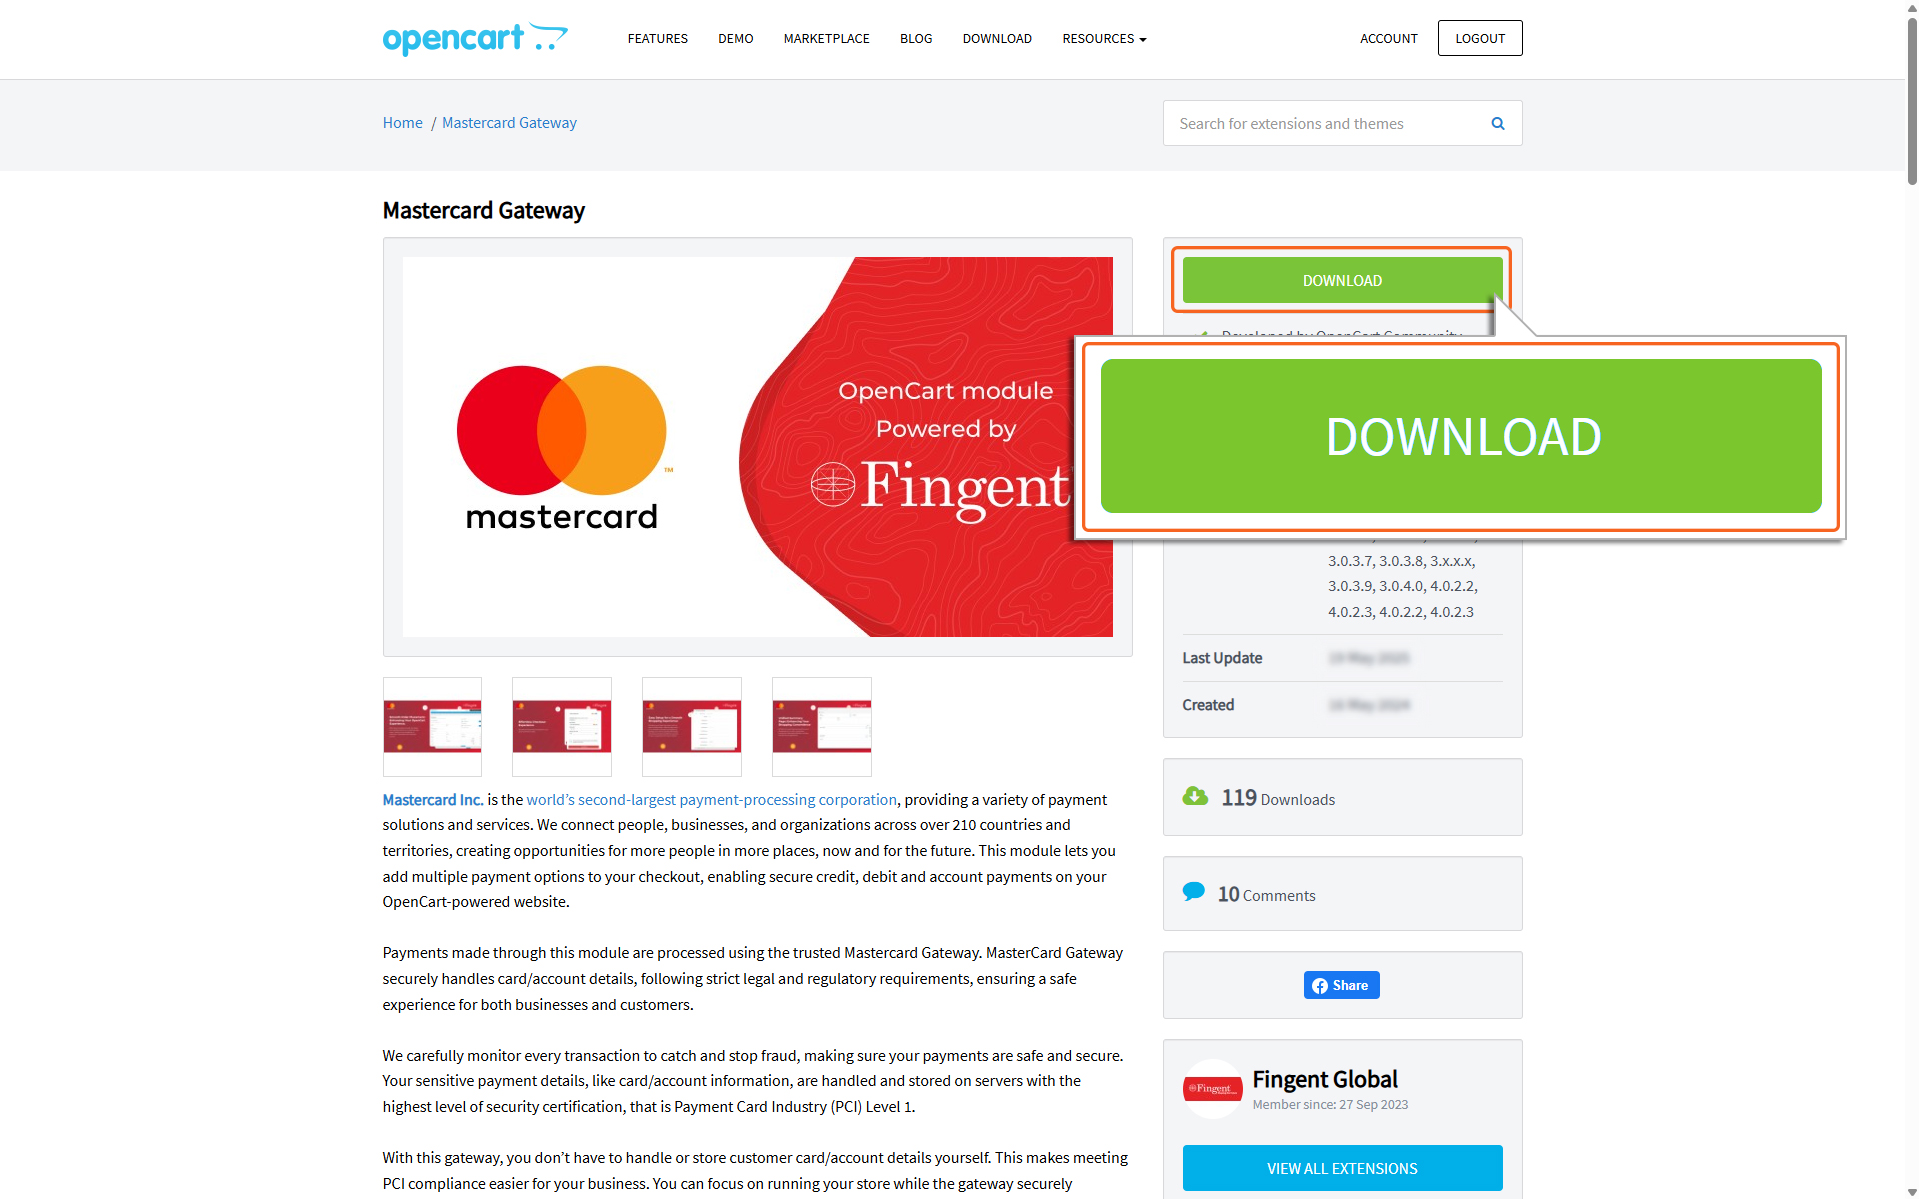
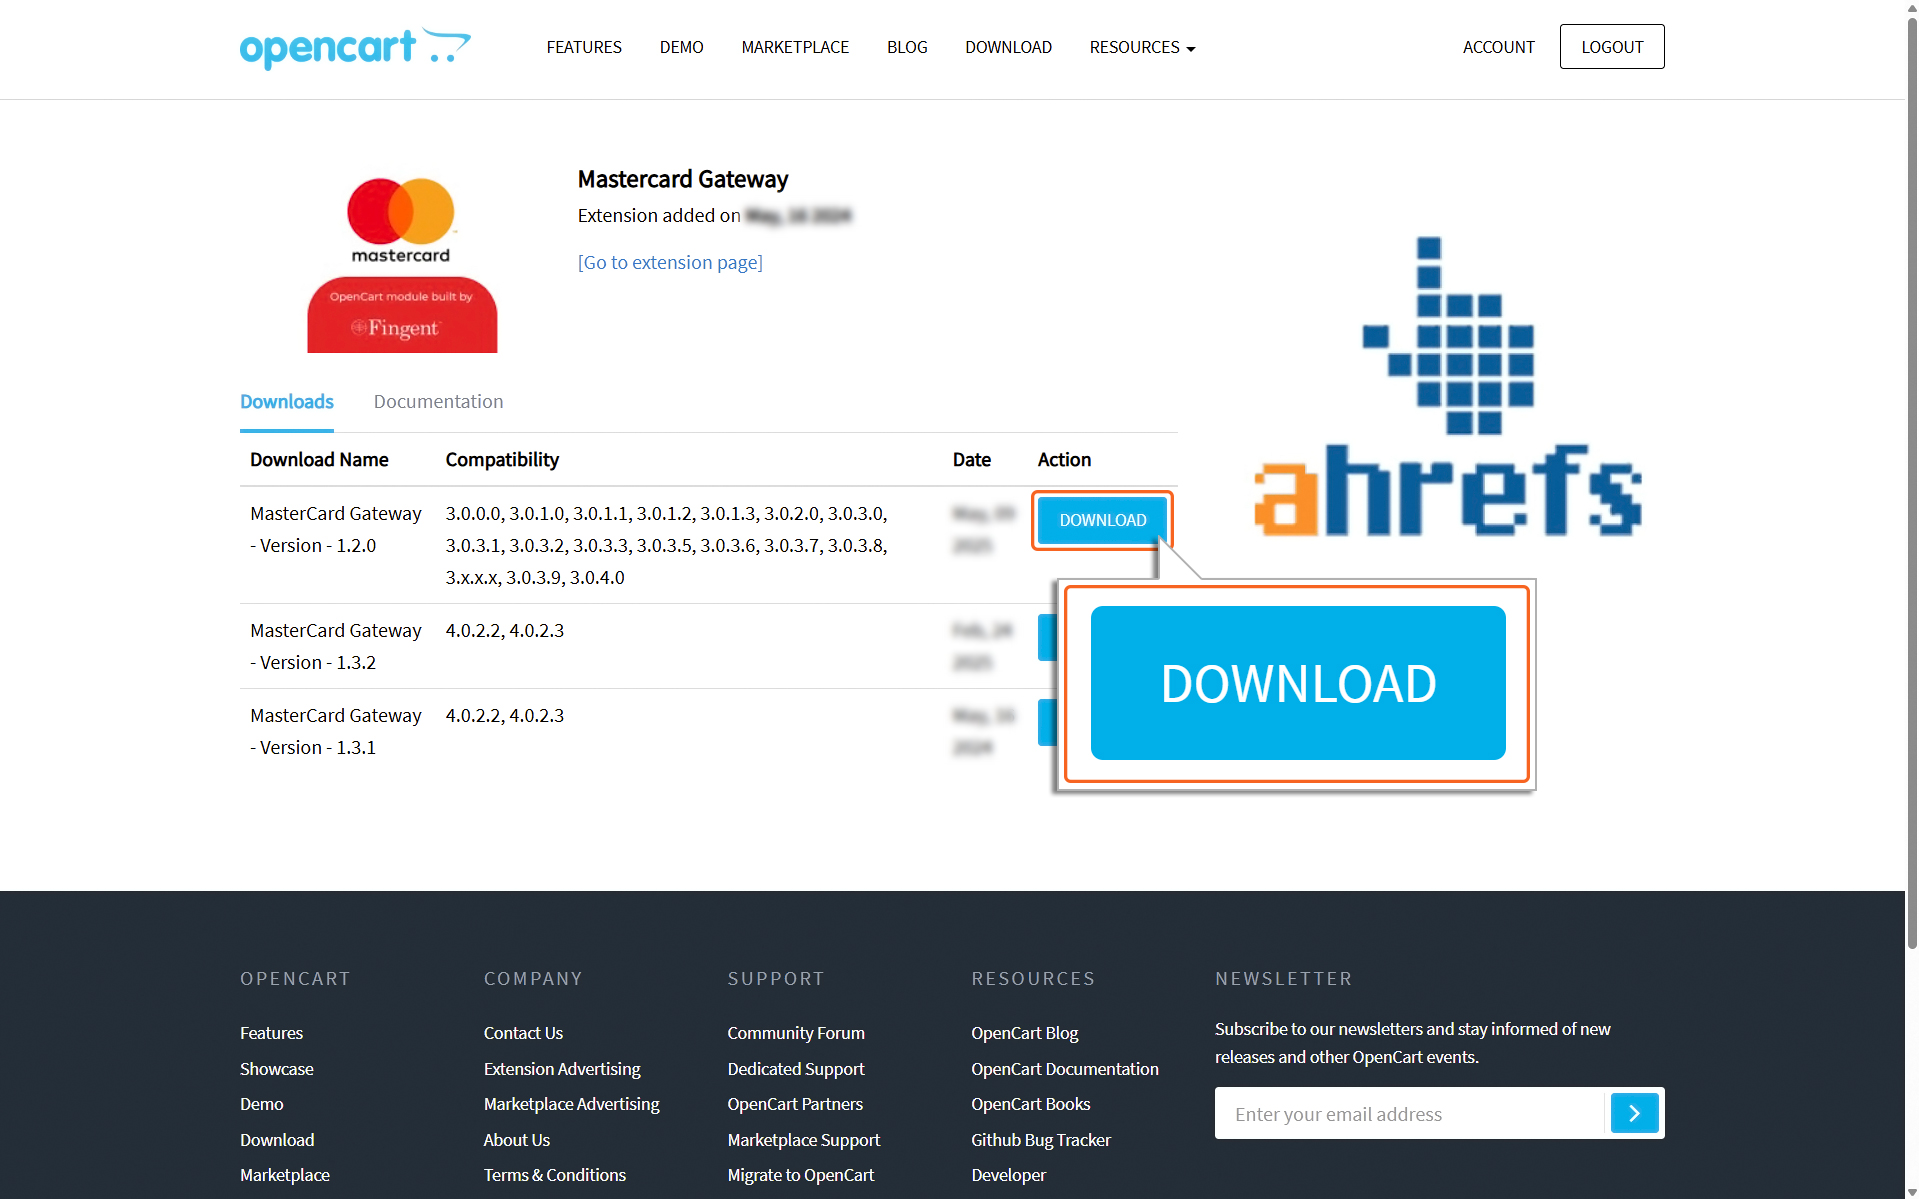
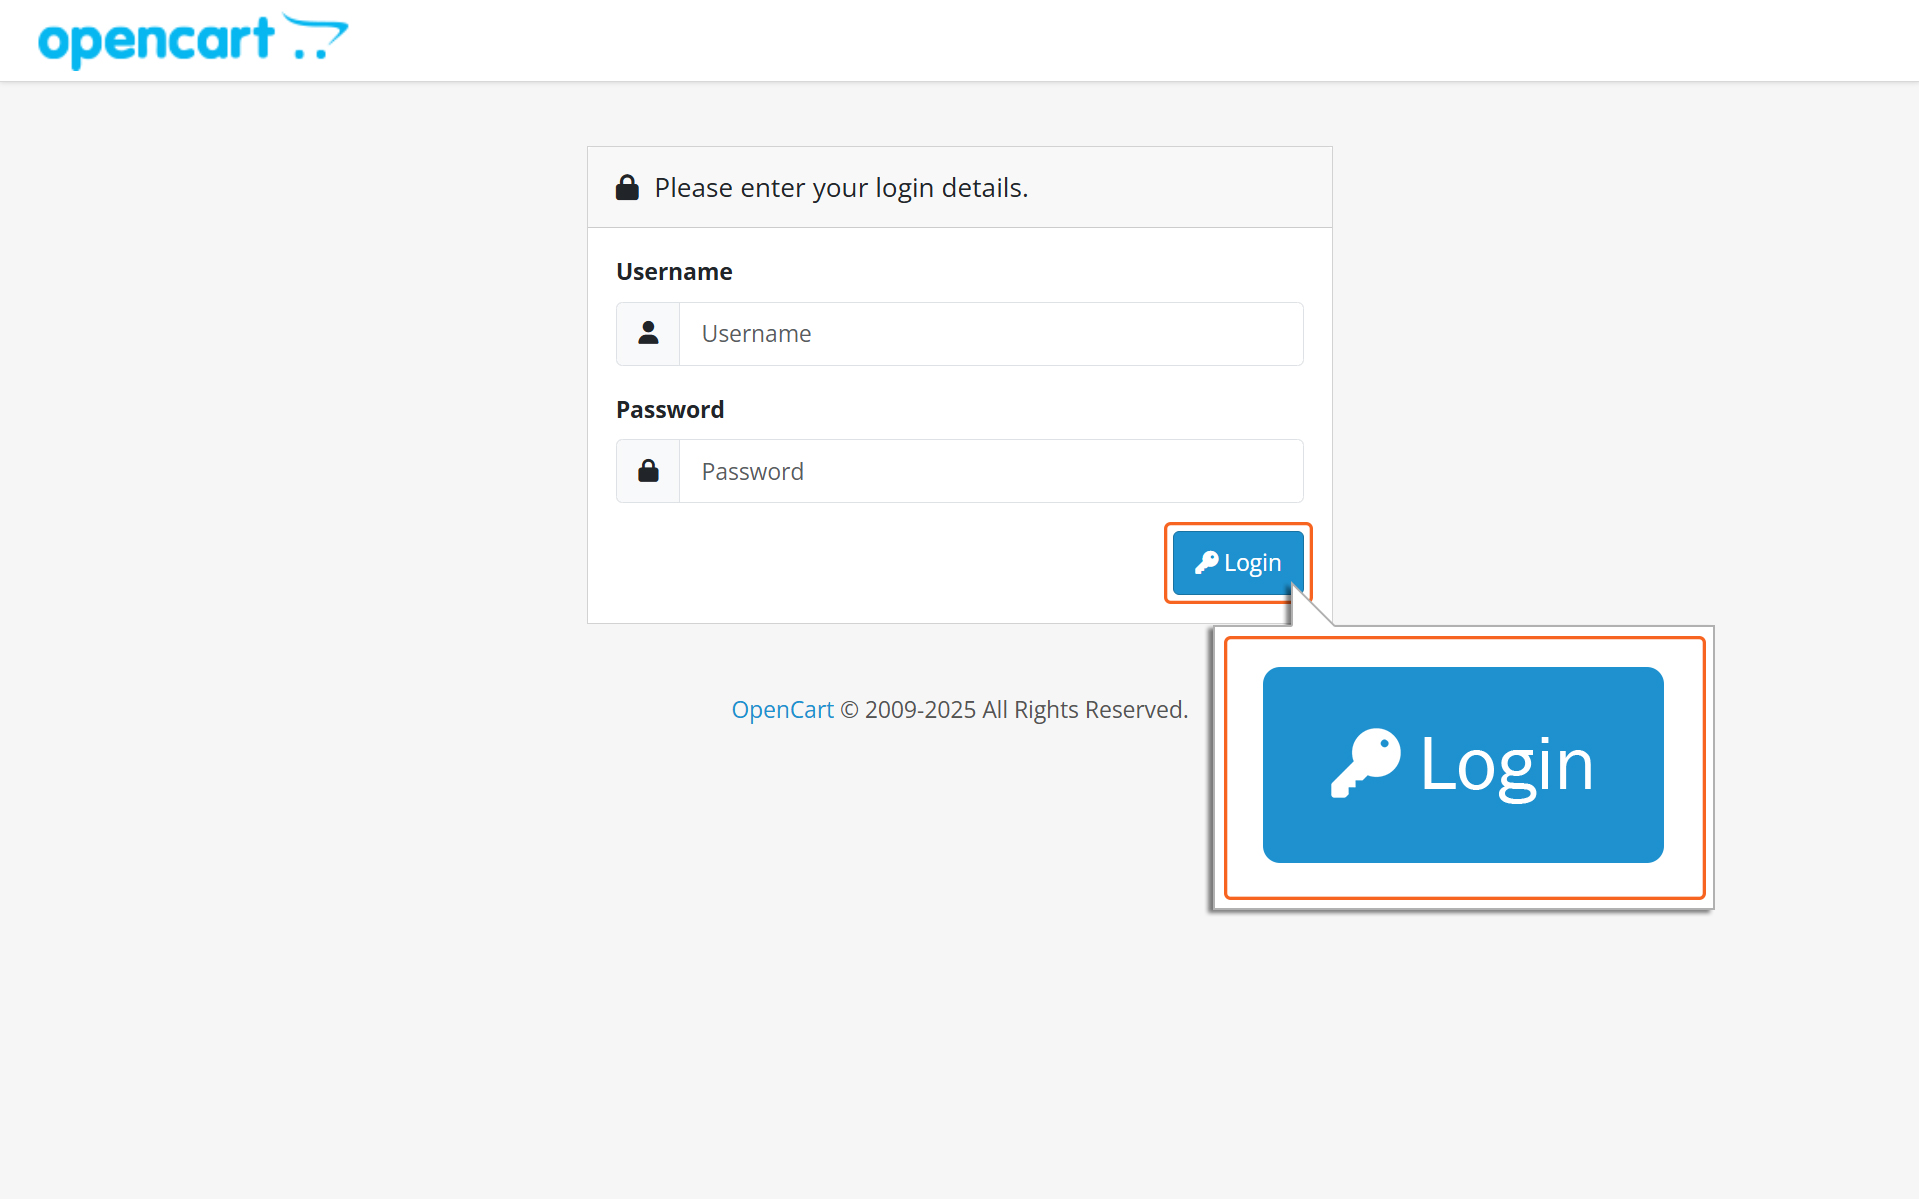
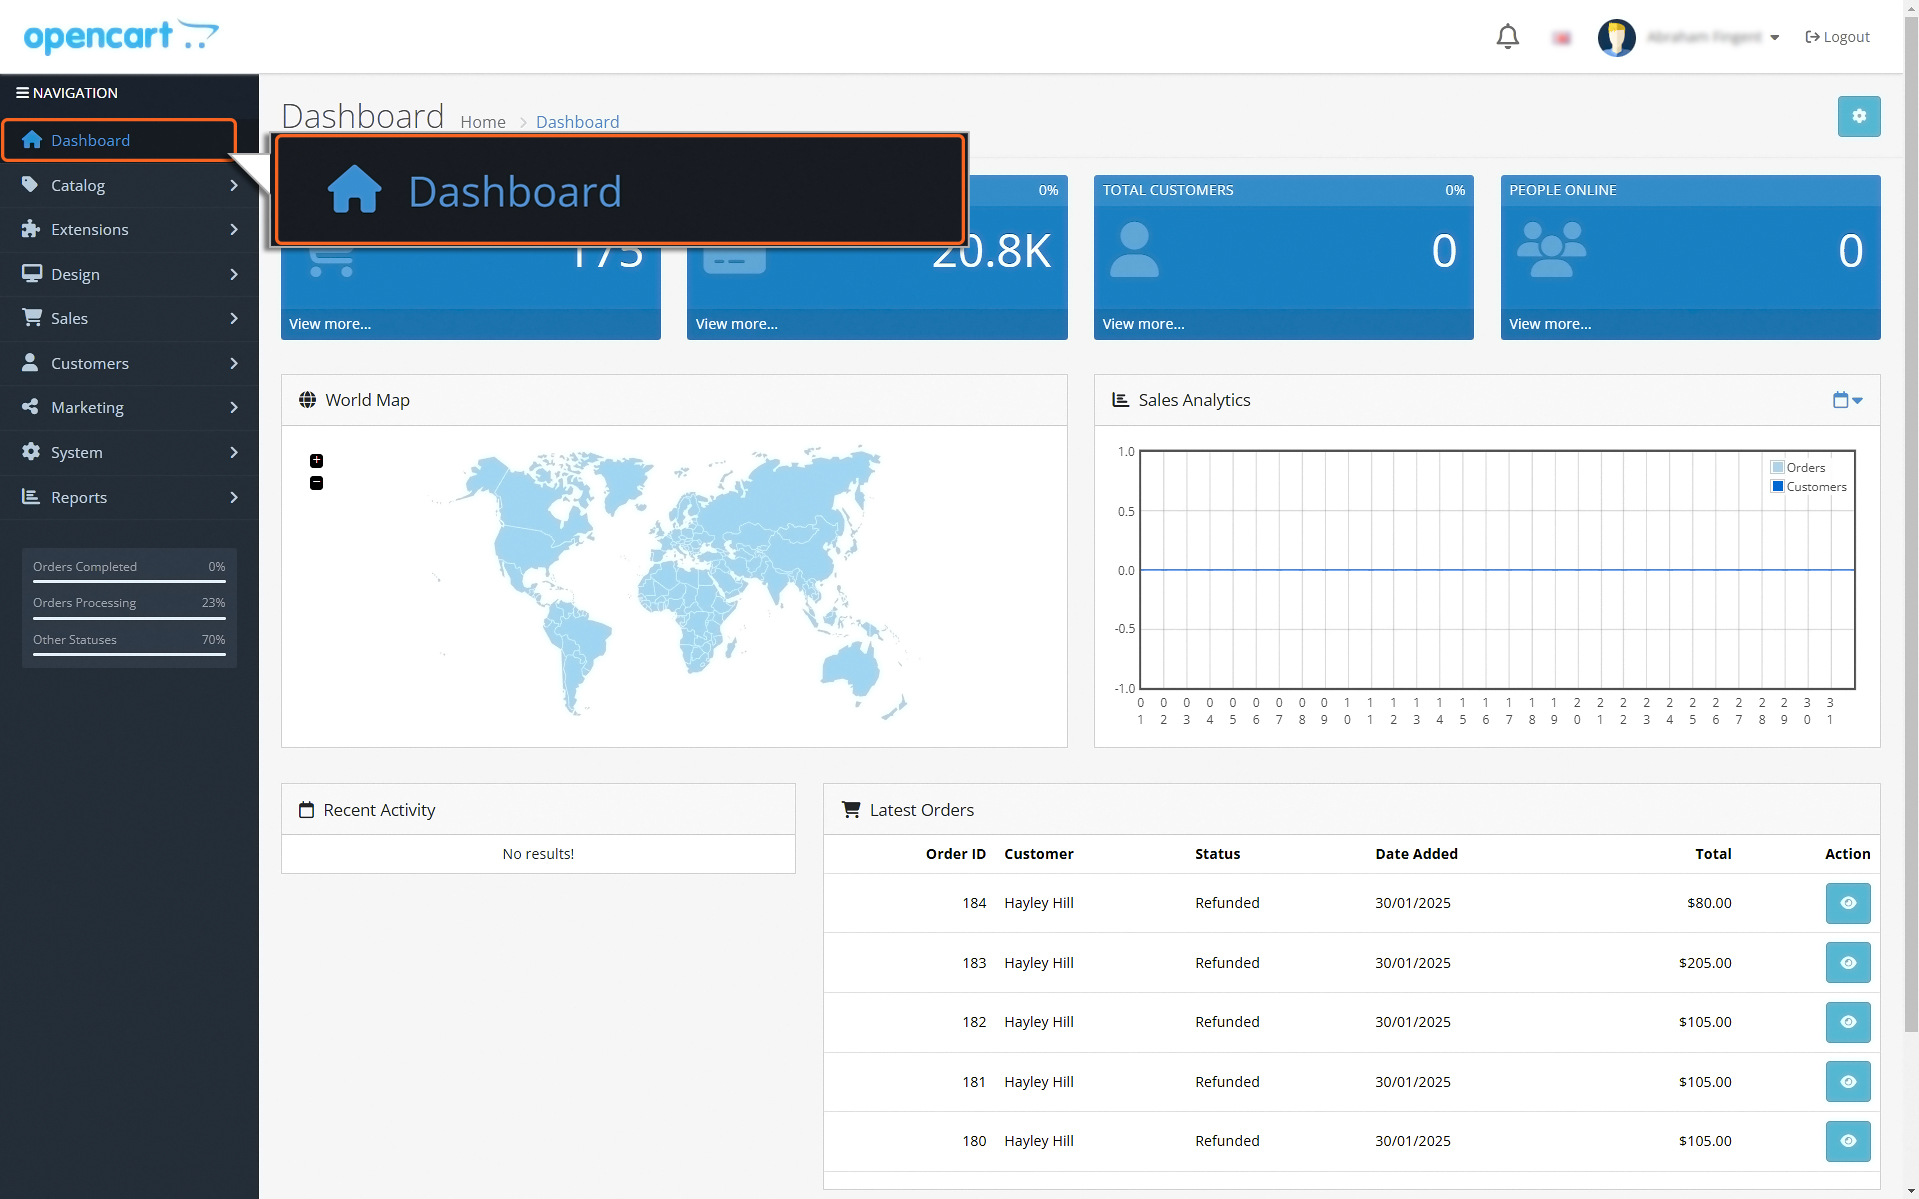
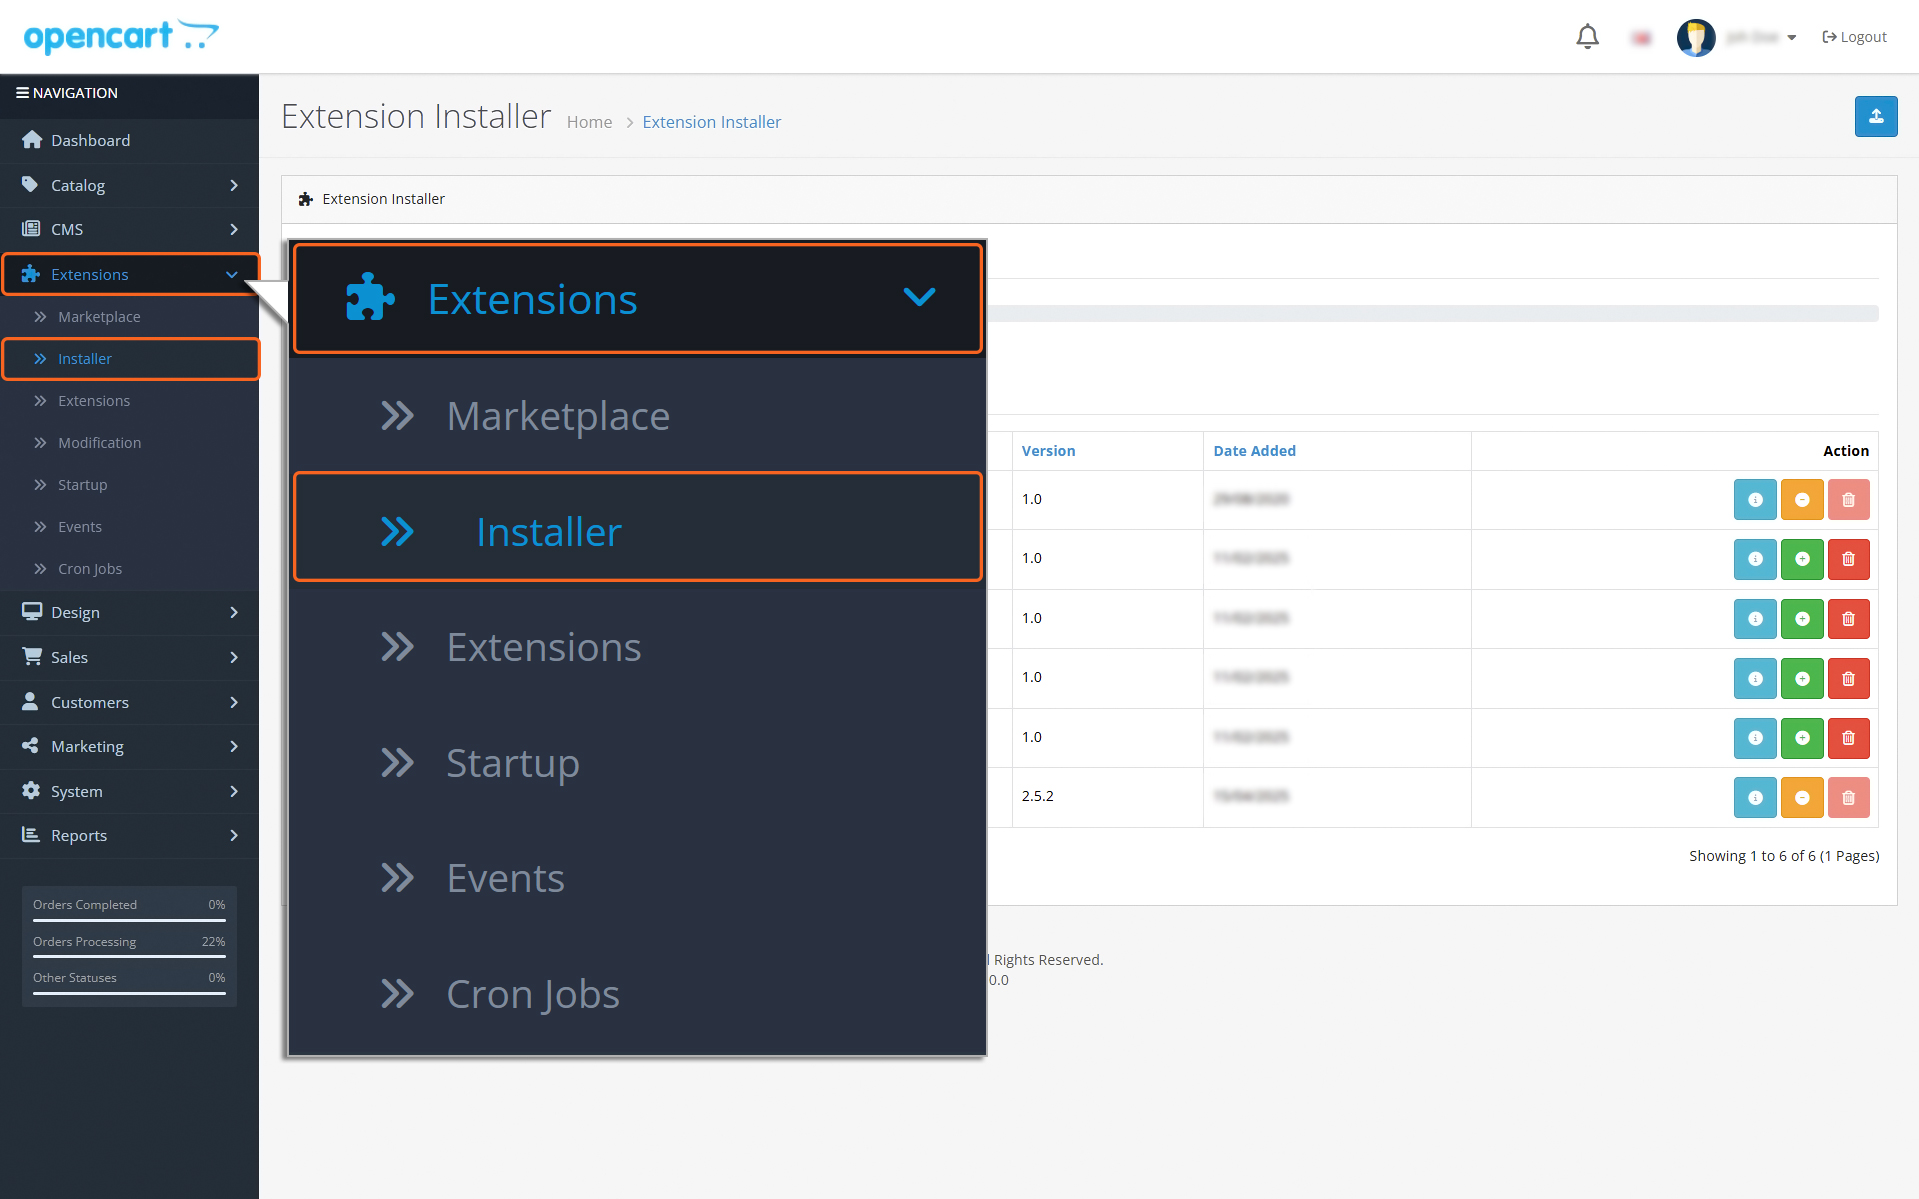
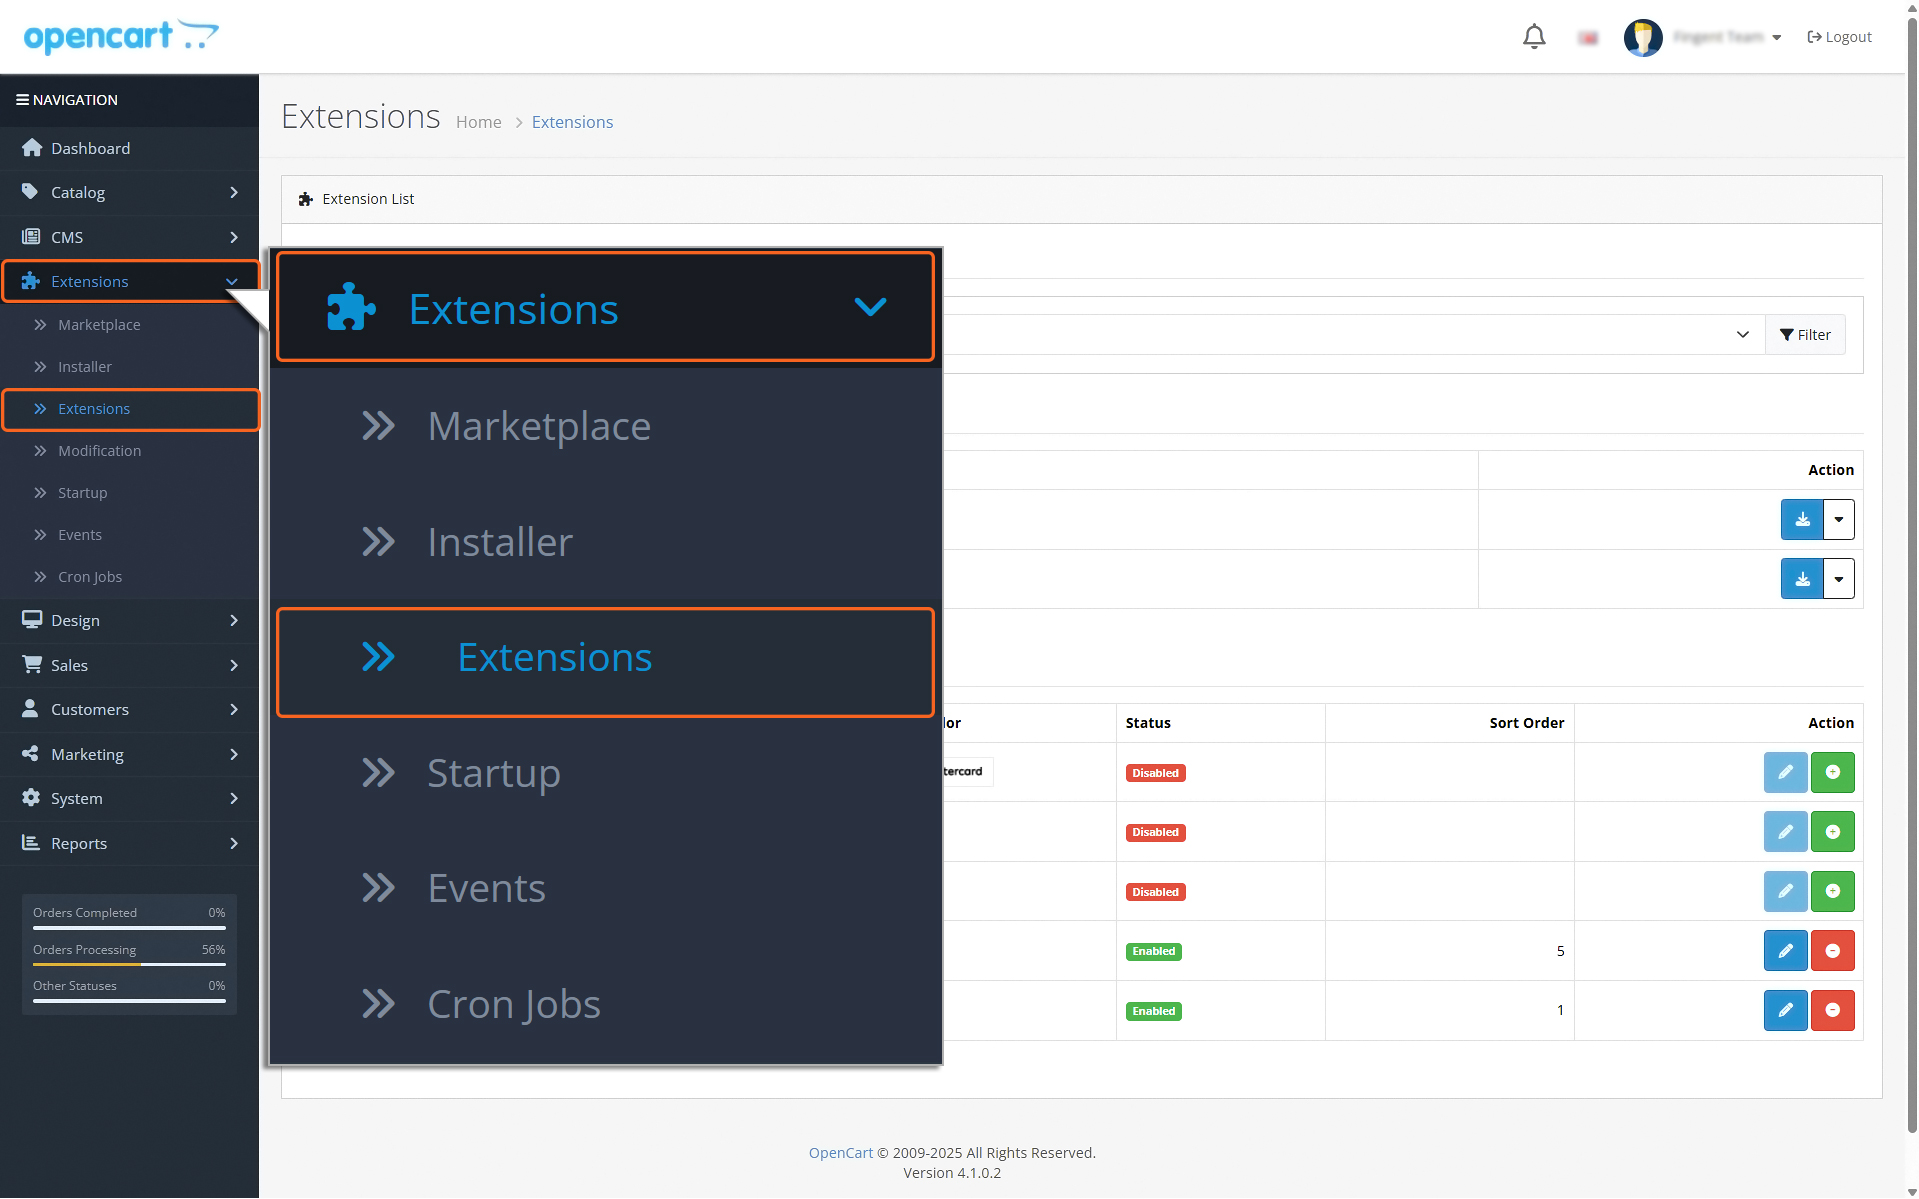
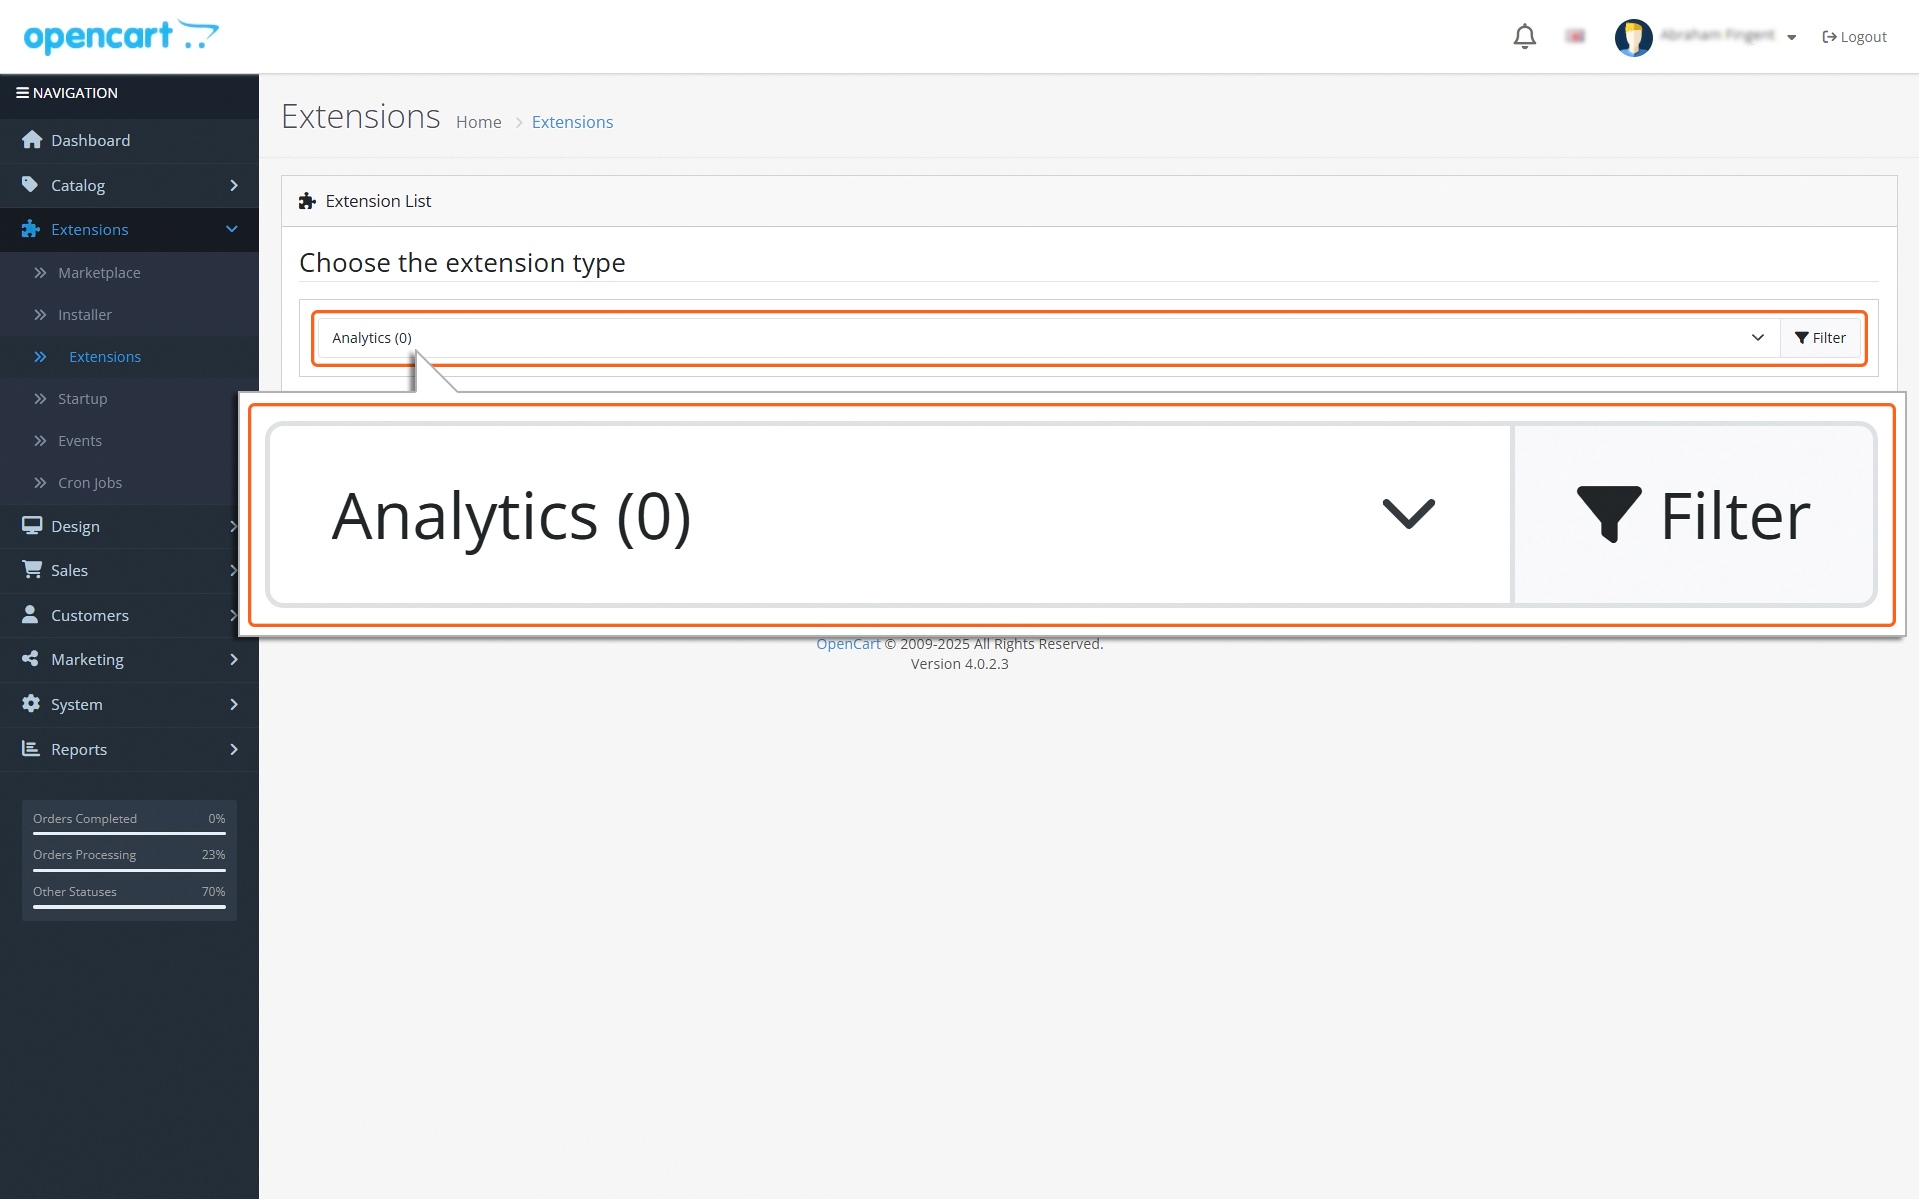
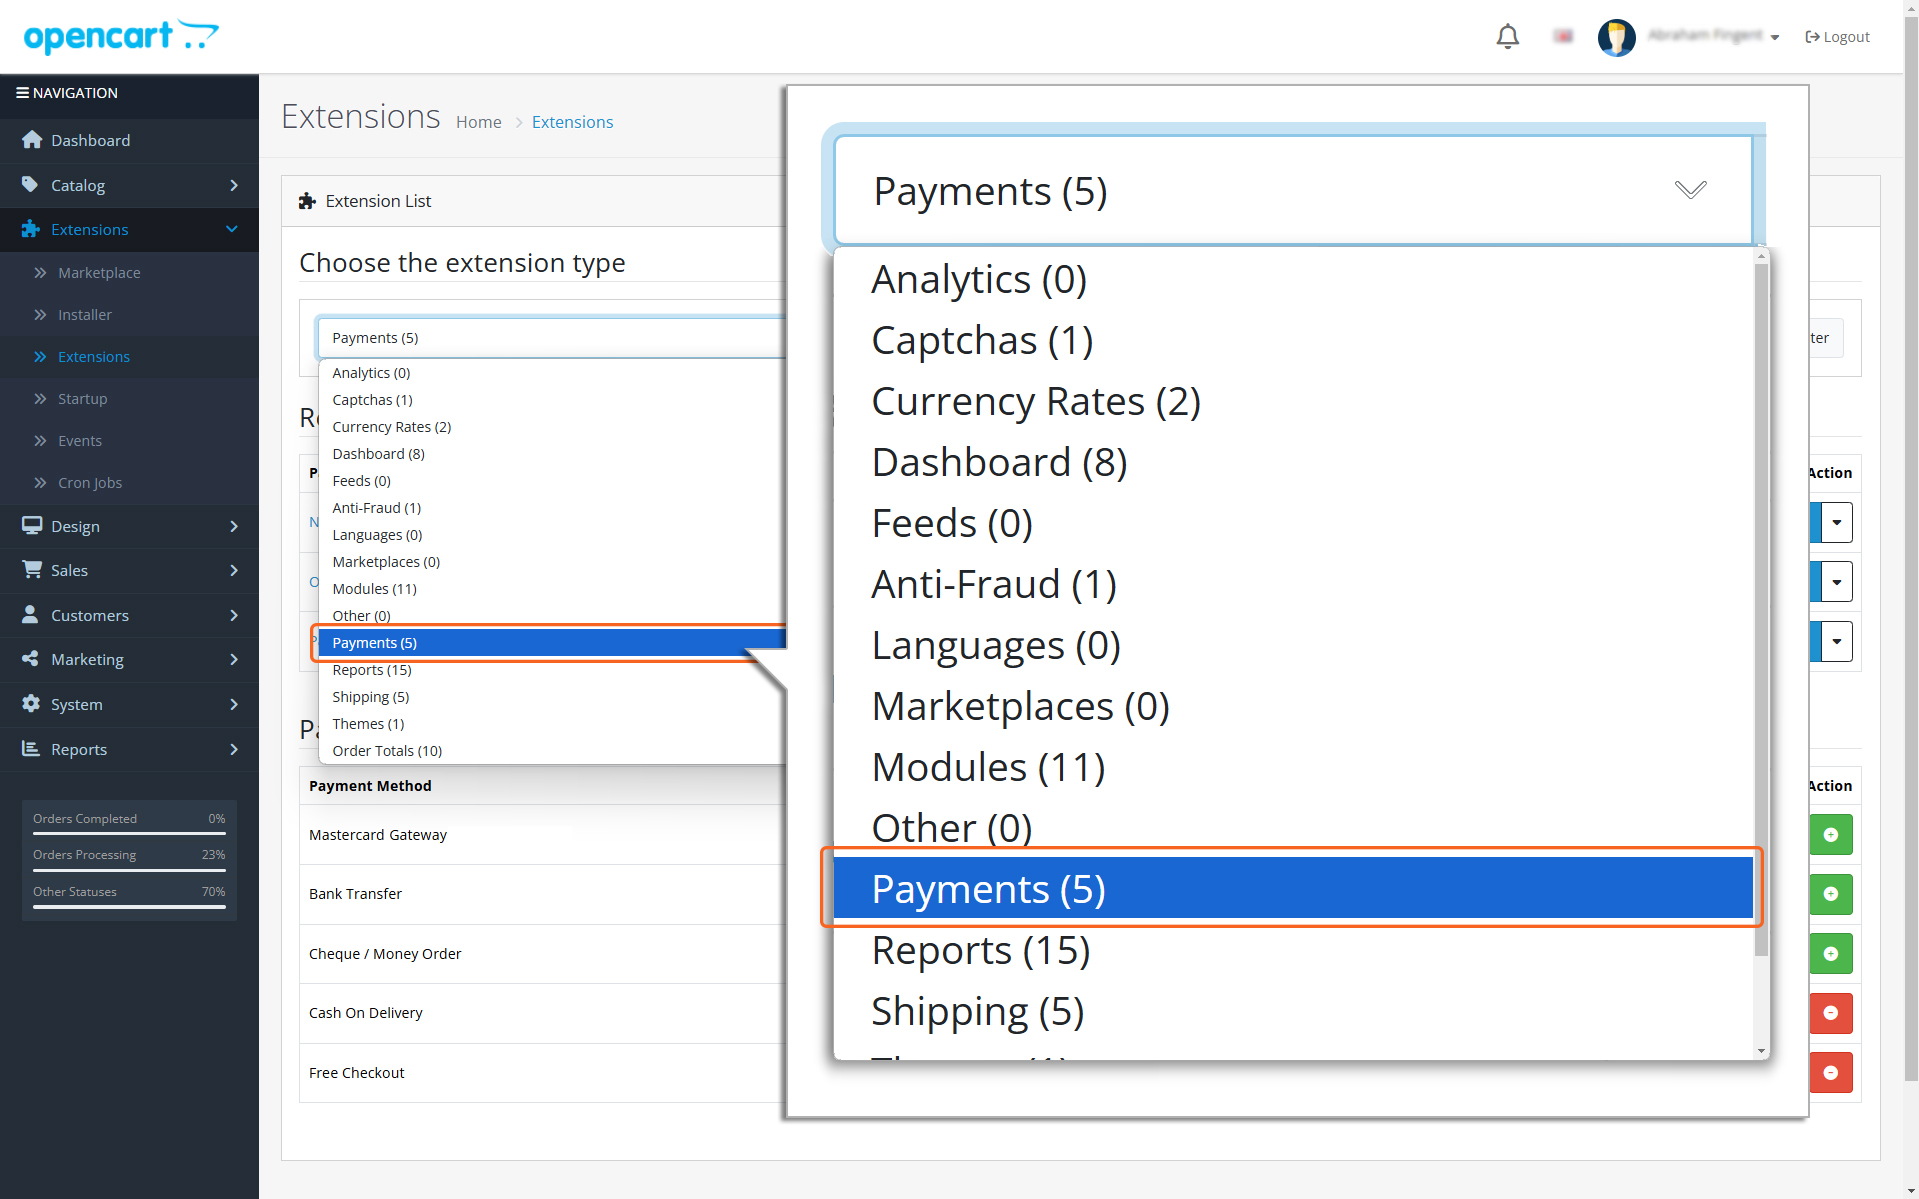
Home > OpenCart – Mastercard Gateway > Installation > Installing from OpenCart Marketplace
OpenCart – Mastercard Gateway
Created date: 21-04-25 |
Updated date: 29-07-25 |
Plugin version: 1.3.3 |
API version: 100
Mastercard Gateway for
Magento, OpenCart, PrestaShop and WooCommerce
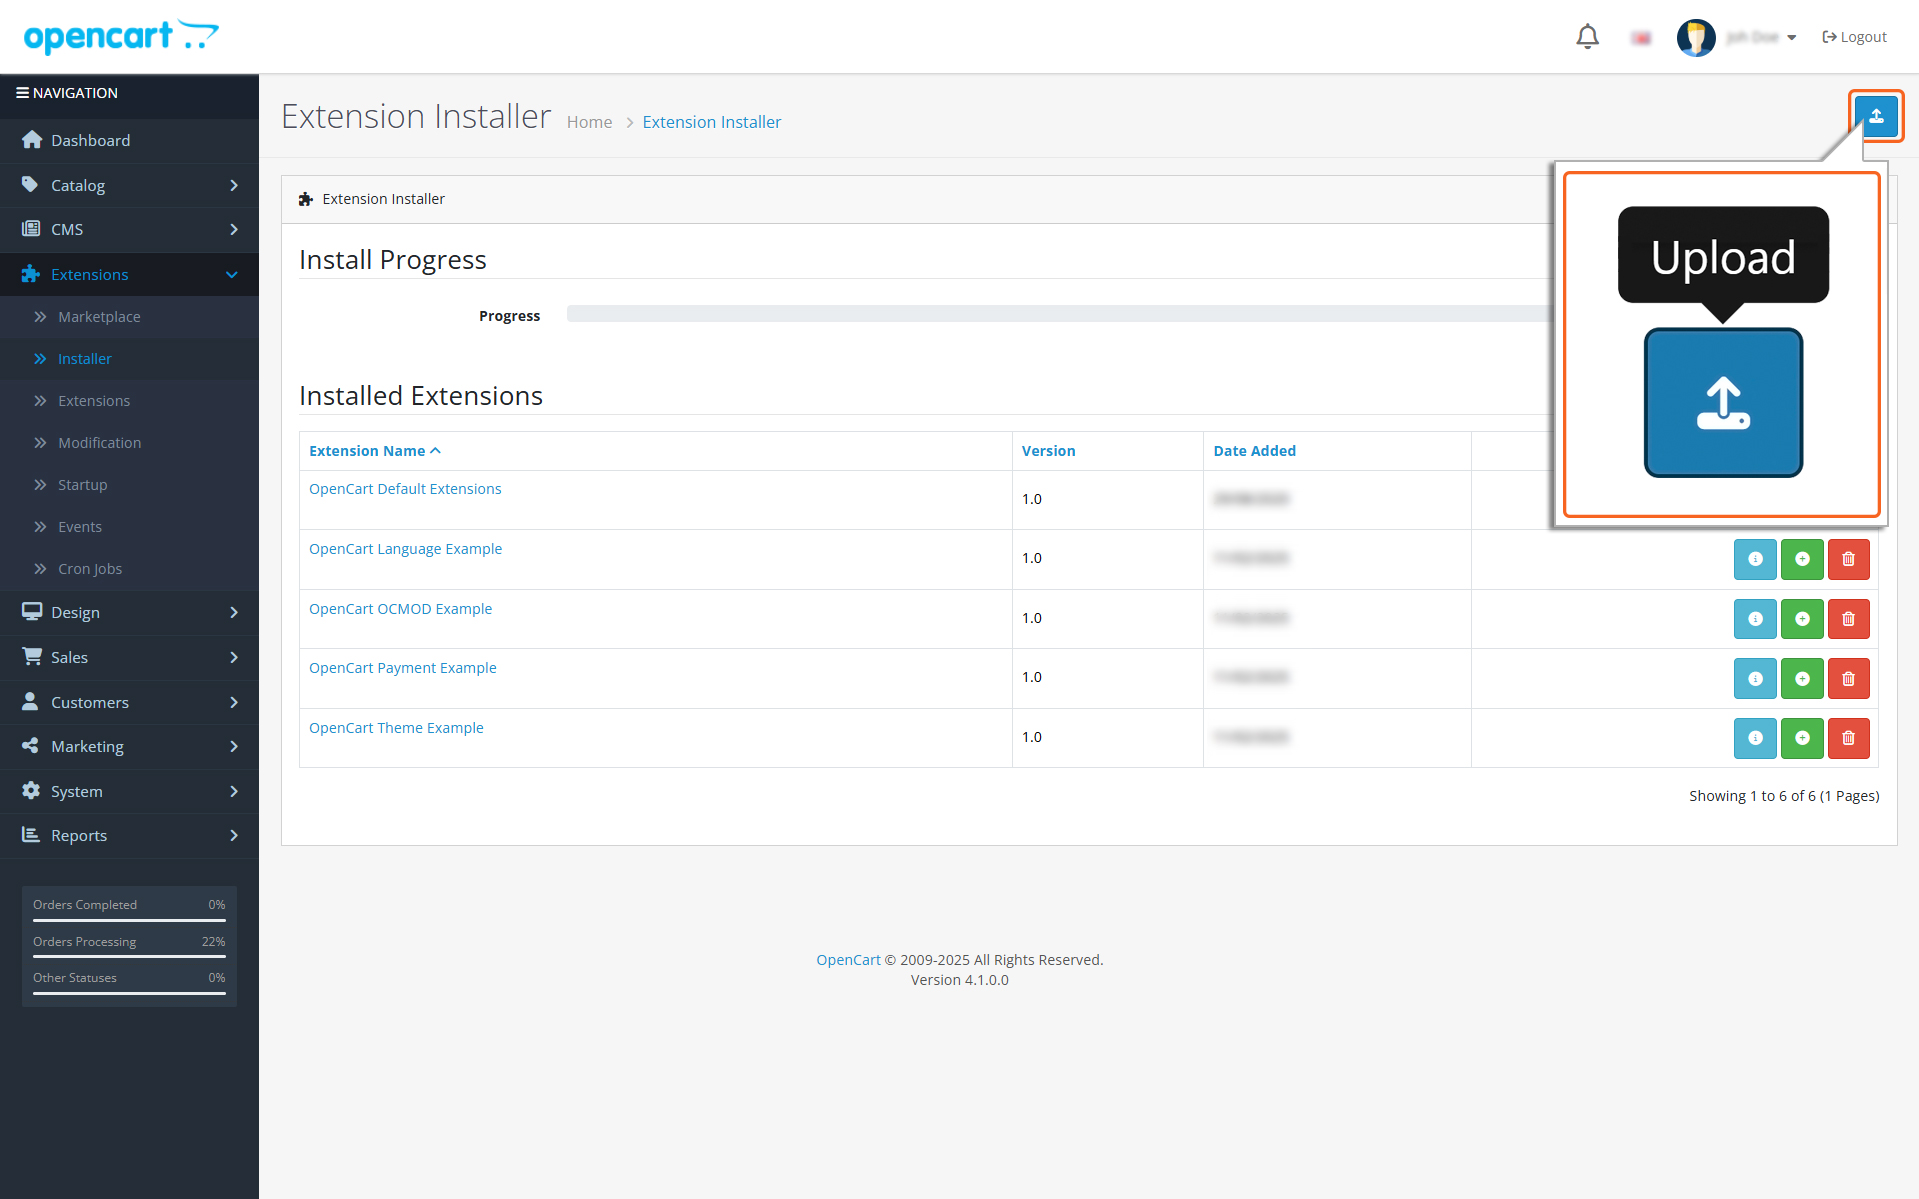
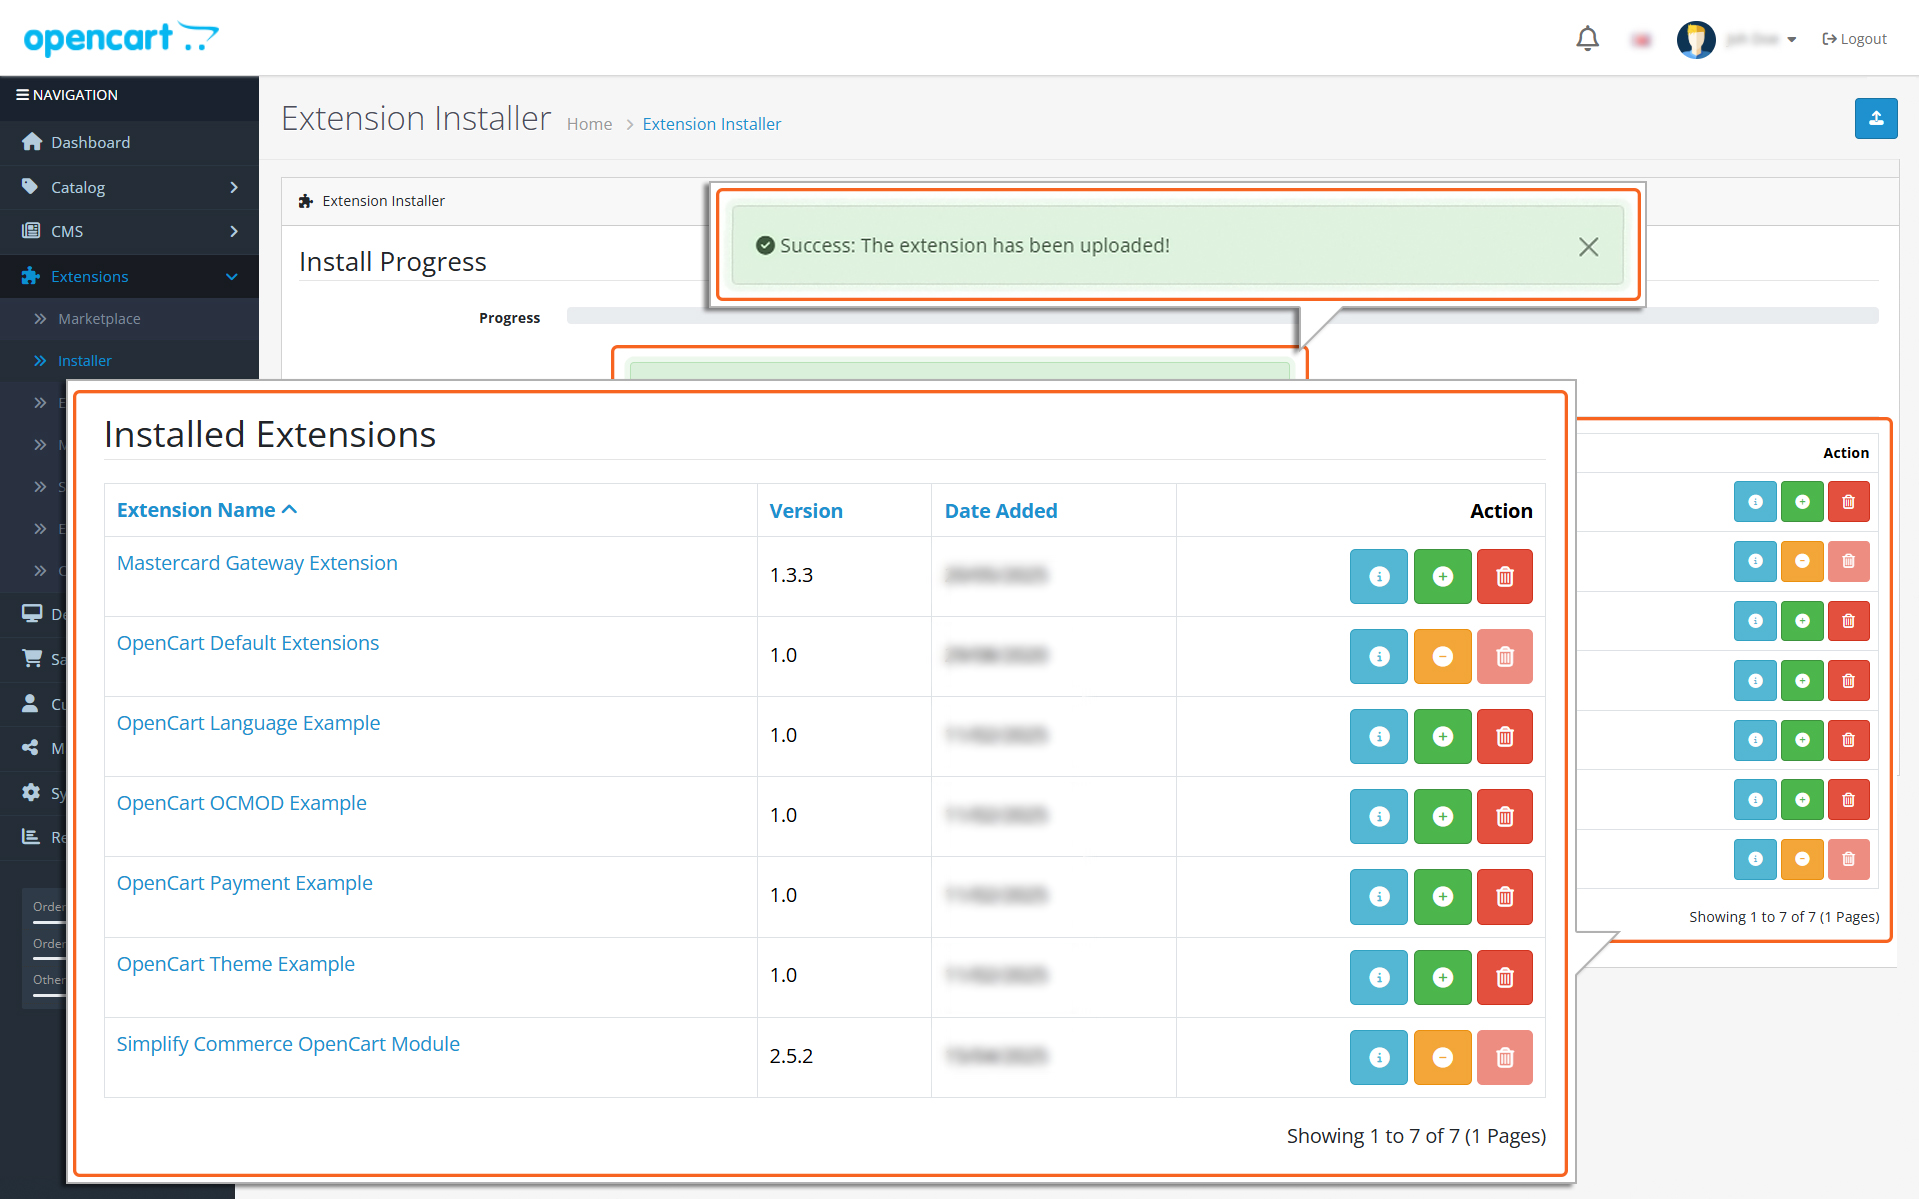
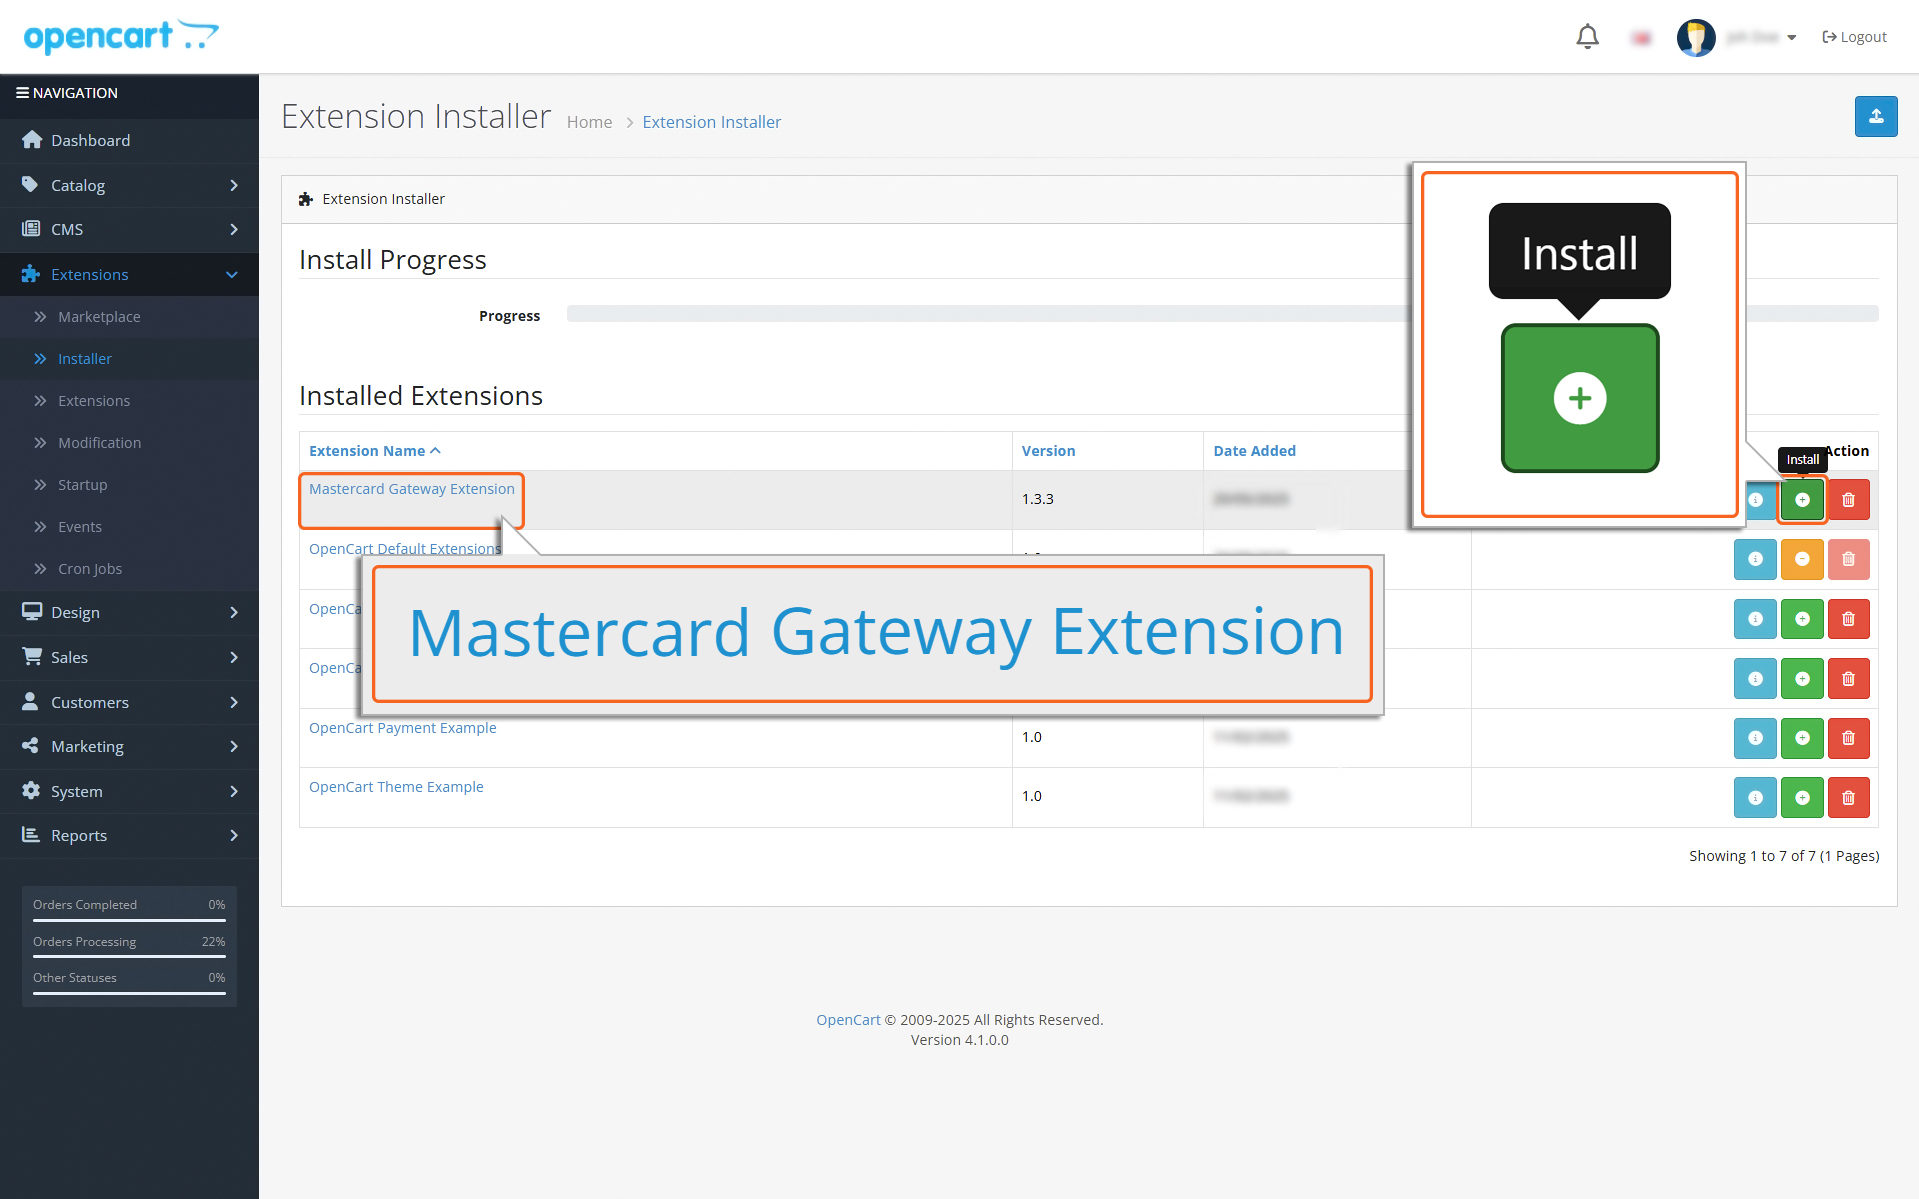
Installing from OpenCart Marketplace